Today I decided to make an apple pie from scratch, and not look at a single recipe. The result was glorious, if I do say so myself.
All the pie recipes I've tried before had the same flaw: the apples never quite cooked enough, there was too much juice, and the crust would burn before it really seemed done. So I came up with a new plan.
From Scratch Apple Pie Recipe
Ingredients
6 apples, peeled, cored, and sliced thin (I used Gala, Braeburn, and Granny Smith)
4 Tbs. butter
0.25 c. dark brown sugar
0.25 c. sugar
1.5 t. cinnamon
0.5 t. allspice
0.5 t. nutmeg
0.25 t. ground cloves
0.5 c. thick apple juice
0.5 c. flour
1 recipe of pie crust dough (I use this one from Simply Recipes Blog)
1. Melt butter in a large pan on the stove. Add apples and stir until well coated.
2. Add sugars and spices and mix. Stir over medium heat for about 5 minutes (or more... I can't remember!) until the apples start to look softer.
3. Add flour and stir well until there are no dry spots.
4. Pour in cider/juice. It will help moisten the apples again. You may need to add more or less juice. Make it the texture that you would like the finished filling to be, since cooking them on the stove prevents the apples from liquefying too much in the oven.
5. Spoon the mixture into the uncooked pie crust. Top with the other crust, and slice vents in the top.
6. Bake at 350 degrees for around 20 minutes (again, I forget) until the crust looks golden. The apples are mostly cooked by now, so really you're just looking for a good cooked crust.
7. Let it cool for around 2 hours before attempting to cut.
I found that it bubbled over minimally, the texture is good (not too watery/crunchy), and the extra spices and brown sugar added lots of depth to the flavor.
If anyone tries to make this and something seems off, please leave a comment. Enjoy!
Monday, September 24, 2012
Friday, March 23, 2012
Make your own Crib Rail Guard Tutorial
I spent about a week in stores and online looking for crib bedding that is gender neutral, and that didn't have some sort of animal on it. No luck. I found a few really cute things on Etsy, but I couldn't justify spending 4-8 HUNDRED dollars on crib bedding... which is mostly for show anyway. And most bedding sets still come with bumpers (which have been deemed unsafe nowadays.)
So I decided to make my own! I haven't done anything but the rail guards yet, but they turned out so well I wanted to post them. I took some inspiration from this blog, but just read it over once and didn't look at it again, so my own crib rail guards are really quite different. In which case, I decided to make a tutorial in case anyone else wanted to try. They only took me about 4 hours to make!
I will explain how I measured my crib, so you can measure your own and come up with your own measurements.
1. Measure your crib.
Taking the tape measure and wrapping around the rail itself to find its girth, I found that mine was about 12.5 inches around. So I added 5.5 inches to this to allow for "fluff" and seams.
Measure the length of each rail on the INSIDE of the crib. The rail guards won't cover the corners. I came up with 26.5 for the short rails and 52 for the long rail. I added 2 inches for seams, but looking back I should have been more generous. If I were you I'd add at least 4 inches total per piece. However, the instructions will continue with the measurements I actually used.
From here on out I will assume your measurements are the same as mine.
2. Buy the fabric and ribbons and lace (optional) and cut it.
You'll need 3 yards of something soft, and wash it and dry it before so it won't shrink after you sew. You'll also need 3 yards of crib batting. I was also making a blanket, so I was OK with having left over, so I bought a giant bag of it.
I also got 4 yards of ribbons (2 of white, 2 of cream). I think. Maybe it was 3 of each?? Oh well, you can figure that out later. I'll help.
So once you've cut everything, you should have 4 pieces of 18x27 fabric, 2 pieces of 18x54 fabric, 4 pieces of 18x27 batting, and 2 pieces of 18x54 batting.
3. Starting pinning everything together.
Putting the right sides of the fabric together, make a sandwich like this: Batting, fabric, fabric, batting.
Now would be a good time to trim up the batting so its all flush.
Next, temporarily pin the layers together. Lay the layers over the crib railing so you can figure out where you want your ties to be. It will be different for each crib. Once you figure it out, temporarily pin the ties on the fabric where they should go. You're going to un-pin these and put them on the inside of the sandwich in a minute.

 I guess I should explain the ties... they need to be about 8 inches each, and you'll need 2 for each "tie site". I decided to have 4 "tie sites" on each side of the crib, which was a total of 24 ties I had to cut. So that's not hard math for you to do on your own when buying ribbon.
Now if you are doing lace or trim, I highly recommend using Wonder Tape to told the lace in place. Then place your ties on top of the lace as shown in the picture. Do this for BOTH sides and make sure the ties are laying opposite each other. Then close the sandwich on top of them and pin.


Now I was really worried about not getting my stitching perfectly straight on that lace and messing it all up. So I did this with a ruler and some chalk:
I only did this on the first one... I got more confident and didn't do the hem line with chalk on the other parts. But if you do try it, use something other than pink chalk. That stuff gets everywhere.
4. Start sewing everything together.
Sew along the hem lines on each side (being careful to catch the ribbons without them falling out of place). Then sew up the third side.
Turn the guard right-side-out and go lay it on your crib and tie it down. This way you can be sure the very last edge you close up is done at the right spot.
You're going to have to close up the 4th side by hand. It was my least favorite part, but I got it down pretty well by the third guard I did.
Once you'd decided where to close up the fourth side, fold in the raw edges and pin it in place.
Then in order to keep the edges looking pretty, I did this funny little fold so that the stitches would stay inside the crease. Hopefully the picture makes sense. Then I just did a whip-stitch to close it all up, and I was done!
Please let me know if anything didn't make sense!
So I decided to make my own! I haven't done anything but the rail guards yet, but they turned out so well I wanted to post them. I took some inspiration from this blog, but just read it over once and didn't look at it again, so my own crib rail guards are really quite different. In which case, I decided to make a tutorial in case anyone else wanted to try. They only took me about 4 hours to make!
I will explain how I measured my crib, so you can measure your own and come up with your own measurements.
1. Measure your crib.
Taking the tape measure and wrapping around the rail itself to find its girth, I found that mine was about 12.5 inches around. So I added 5.5 inches to this to allow for "fluff" and seams.
Measure the length of each rail on the INSIDE of the crib. The rail guards won't cover the corners. I came up with 26.5 for the short rails and 52 for the long rail. I added 2 inches for seams, but looking back I should have been more generous. If I were you I'd add at least 4 inches total per piece. However, the instructions will continue with the measurements I actually used.
From here on out I will assume your measurements are the same as mine.
2. Buy the fabric and ribbons and lace (optional) and cut it.
You'll need 3 yards of something soft, and wash it and dry it before so it won't shrink after you sew. You'll also need 3 yards of crib batting. I was also making a blanket, so I was OK with having left over, so I bought a giant bag of it.
I also got 4 yards of ribbons (2 of white, 2 of cream). I think. Maybe it was 3 of each?? Oh well, you can figure that out later. I'll help.
Cut out TWO copies of the above diagram of both the fabric AND the batting. You'll need DOUBLE of what I've shown above. I just folded mine in half and cut them both at the same time. My fabric was actually bigger than 1 yard on the side so I had left overs. Some fabric is actually 36 inches on the side so you'd be in luck.
So once you've cut everything, you should have 4 pieces of 18x27 fabric, 2 pieces of 18x54 fabric, 4 pieces of 18x27 batting, and 2 pieces of 18x54 batting.
3. Starting pinning everything together.
Putting the right sides of the fabric together, make a sandwich like this: Batting, fabric, fabric, batting.
Now would be a good time to trim up the batting so its all flush.
Now if you are doing lace or trim, I highly recommend using Wonder Tape to told the lace in place. Then place your ties on top of the lace as shown in the picture. Do this for BOTH sides and make sure the ties are laying opposite each other. Then close the sandwich on top of them and pin.
Now I was really worried about not getting my stitching perfectly straight on that lace and messing it all up. So I did this with a ruler and some chalk:
I only did this on the first one... I got more confident and didn't do the hem line with chalk on the other parts. But if you do try it, use something other than pink chalk. That stuff gets everywhere.
4. Start sewing everything together.
Sew along the hem lines on each side (being careful to catch the ribbons without them falling out of place). Then sew up the third side.
Turn the guard right-side-out and go lay it on your crib and tie it down. This way you can be sure the very last edge you close up is done at the right spot.
You're going to have to close up the 4th side by hand. It was my least favorite part, but I got it down pretty well by the third guard I did.
Once you'd decided where to close up the fourth side, fold in the raw edges and pin it in place.
Then in order to keep the edges looking pretty, I did this funny little fold so that the stitches would stay inside the crease. Hopefully the picture makes sense. Then I just did a whip-stitch to close it all up, and I was done!
Please let me know if anything didn't make sense!
Monday, March 19, 2012
Starting New Projects and Finishing Old Ones!
Sorry I've been neglecting my blog.... I've been distracted. On the morning of January 27th, after my sweetheart left for work, I had a wild hair and decided to take a pregnancy test. Guess what? I drove out to his work with two little sprinkles in an old 35mm film case and had him come outside. I rolled those little sprinkles (one pink, one blue) into his hand and said, "That's how big your baby is."
Well, that little baby is now the size of a lime, with a loud and strong heartbeat! One week from today I have an ultrasound to see him/her and I'm very excited because this will be the first ultrasound where he/she won't look like a shrimp! I'm excited to see the sweet little face! And better yet, my sweetheart just called to say his boss found out about the ultrasound and gave him the time off to come too!
Here is the little one at 8 weeks (the size of a raspberry):

I'm finally to the point where I don't feel like sleeping or puking all the time, so I've finished my tree painting and started on the nursery. Here is the chronological progression of that tree painting from concept to finish:
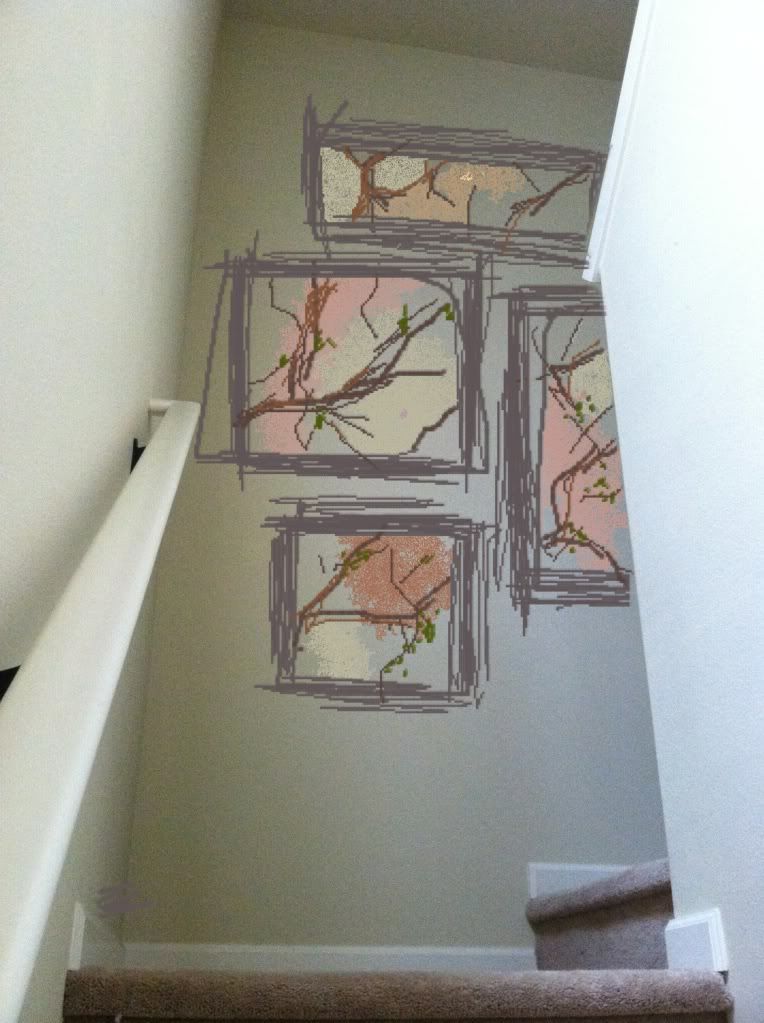
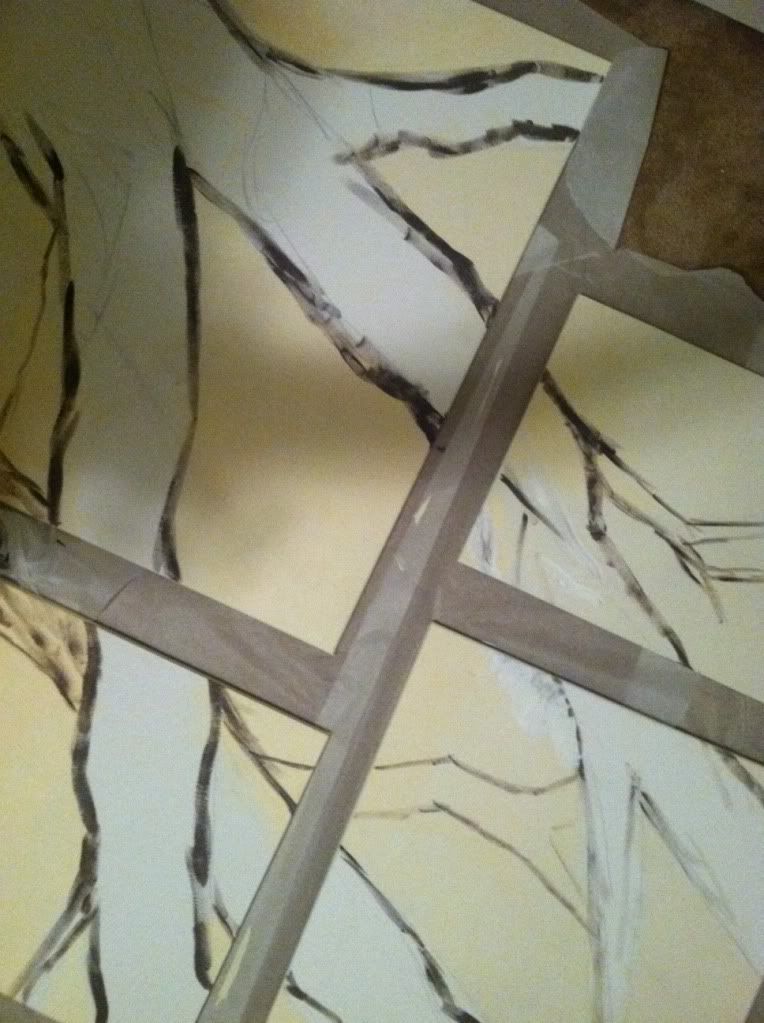
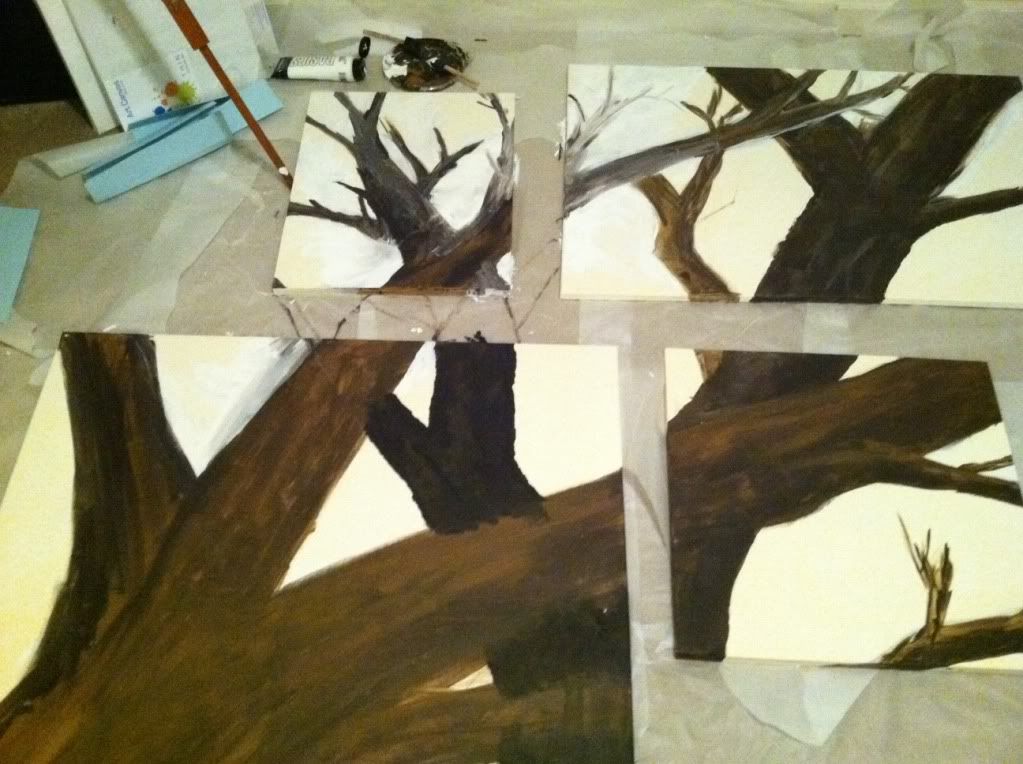
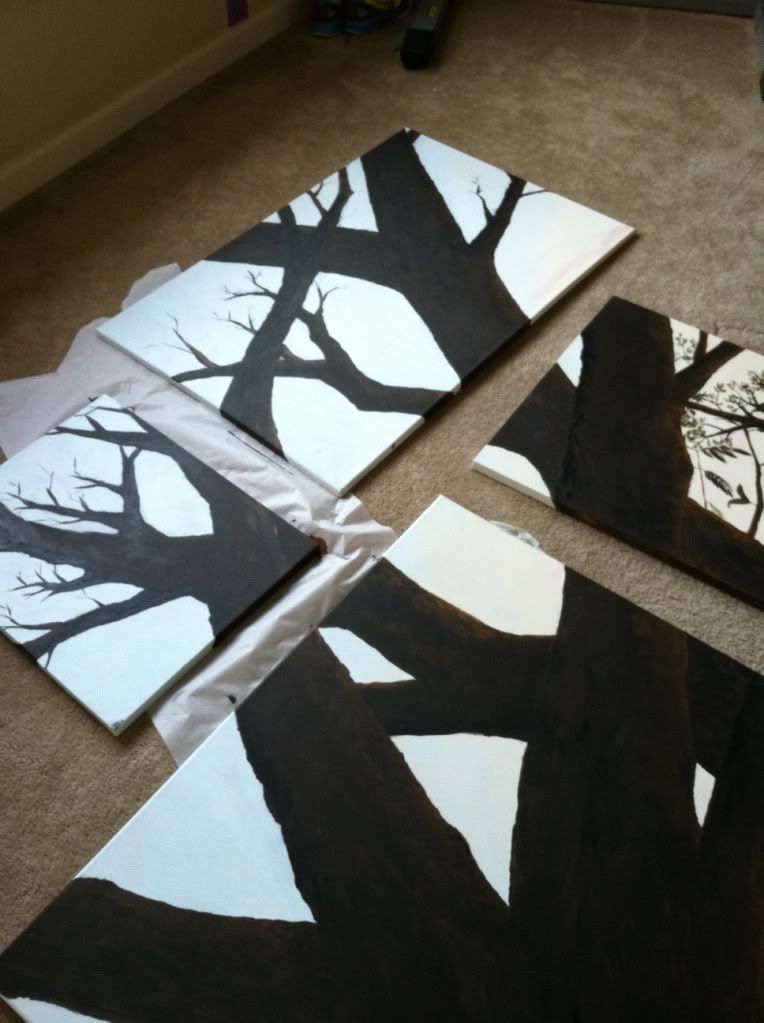
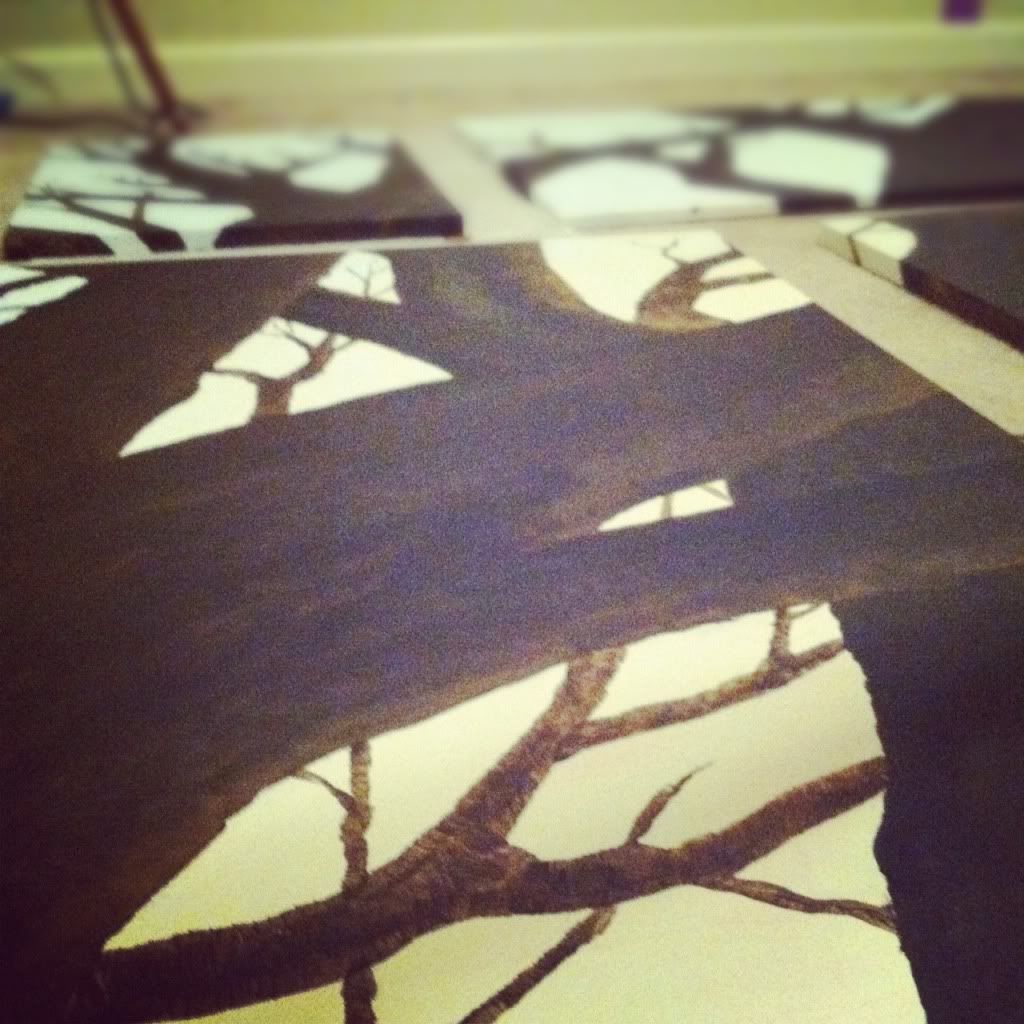
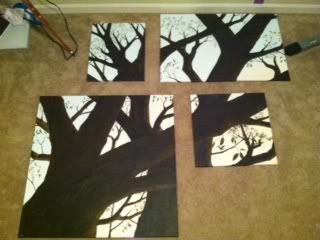
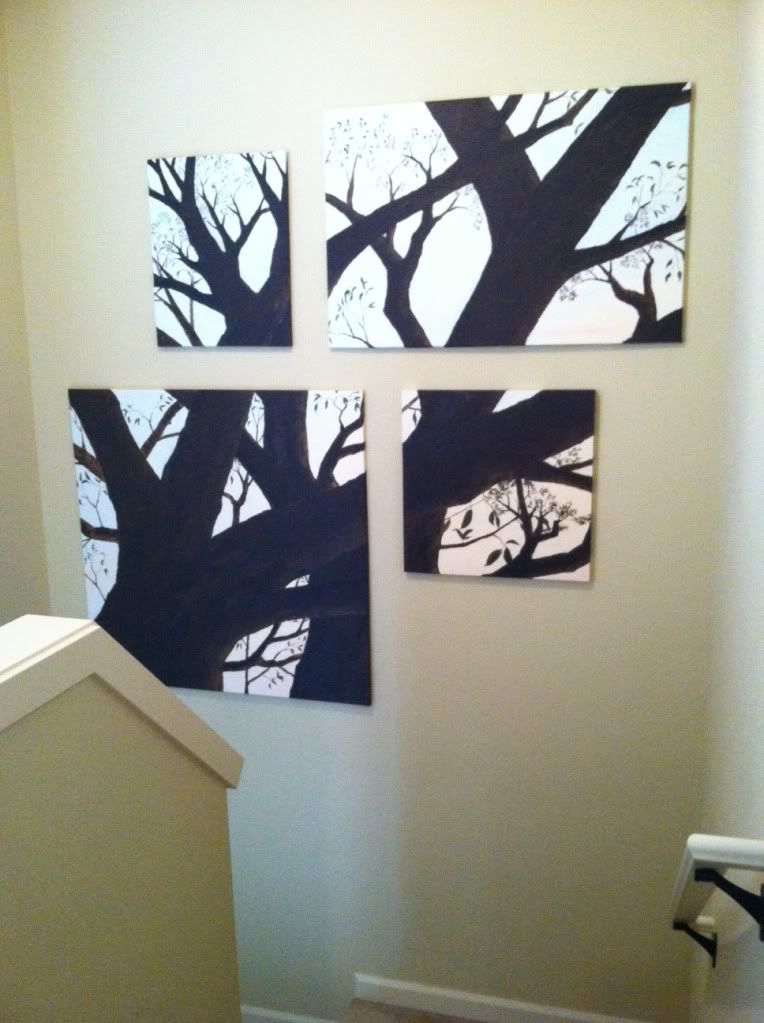
I particularly like this:
Well, that little baby is now the size of a lime, with a loud and strong heartbeat! One week from today I have an ultrasound to see him/her and I'm very excited because this will be the first ultrasound where he/she won't look like a shrimp! I'm excited to see the sweet little face! And better yet, my sweetheart just called to say his boss found out about the ultrasound and gave him the time off to come too!
Here is the little one at 8 weeks (the size of a raspberry):

I'm finally to the point where I don't feel like sleeping or puking all the time, so I've finished my tree painting and started on the nursery. Here is the chronological progression of that tree painting from concept to finish:


I particularly like this:
Soon I'll post pictures of the nursery once I get it a bit further along :)
Friday, January 13, 2012
Someday
Someday, I want a lot of property and an old farm house. I want lots of tall trees around the property, so I can string lights from tree to tree, and have meandering walkways lit by lovely little lights and imagine faeries are watching me from the trees. I want a few picnic tables out in a clearing surrounded by lights strung in a circle. I would plant wild flowers and maintain it myself instead of going to work. I would have my own large vegetable garden AND a flower garden. I would have fresh flowers in my house all summer. And I want little children of my own to enjoy it all with me. Is that so much to ask?


Labels:
children,
faeries,
farm house,
picnic tables,
property,
trees
Wednesday, January 4, 2012
New Year, More Memories
I spent the last 2 weeks going through all the photos I've taken over the last 6 years. That is approximately 60,000 photos. I am not exaggerating... I have file numbers to prove it. In the last 2 weeks I have noticed a disturbing trend. As the years have worn on, I have done the following:
1. Clearly spent increasingly more time on my appearance.
2. Spent an increasingly greater number of hours working per day.
3. Drinking more and more wine.
4. Hiking/road tripping less and less.
5. More practical time with CJ and less memory-making bonding with him.
While some might say that these are natural consequences of growing out of your awkward adolescence, I saw BULLCRAP! I say that I was happier when I was a toothless dork who didn't know what eyeliner was.
I say that I was happier eating out once a year and spending long nights walking through the forest with my boyfriend. And I didn't need wine... I had adventure.
So I have a plan. While it is impractical to think I will suddenly give up my new found love of blush, or say goodbye to booze without a good reason, I have decided to put a little bit more effort in not settling. And that is why I am leaving this weekend for some unknown destination in the woods, in the middle of winter, with my soul mate. Just like old times. And we are going to have more fun, more often.
There will come a day when things like this won't be easy or even possible. But today is not that day!
Over the next year, I plan to enjoy every moment. I plan to love every second I spend at work, but no more time than I need to. I will seize every evening and not squander my weekends on "adventuring" in video games. And I will use my new camera to capture as much of my life as possible.
I need real adventure, and I need it often. Like Aristotle said, adventure is worthwhile.
Subscribe to:
Posts (Atom)


